


GLOBRIGHT 360
Instructions
Here is how to get the best of your GloBright Cable:
-
Plug in the Power Source: Start by plugging one end of the charging cable into a power source. This could be a wall adapter, a USB port on your computer, or any other compatible power outlet.
-
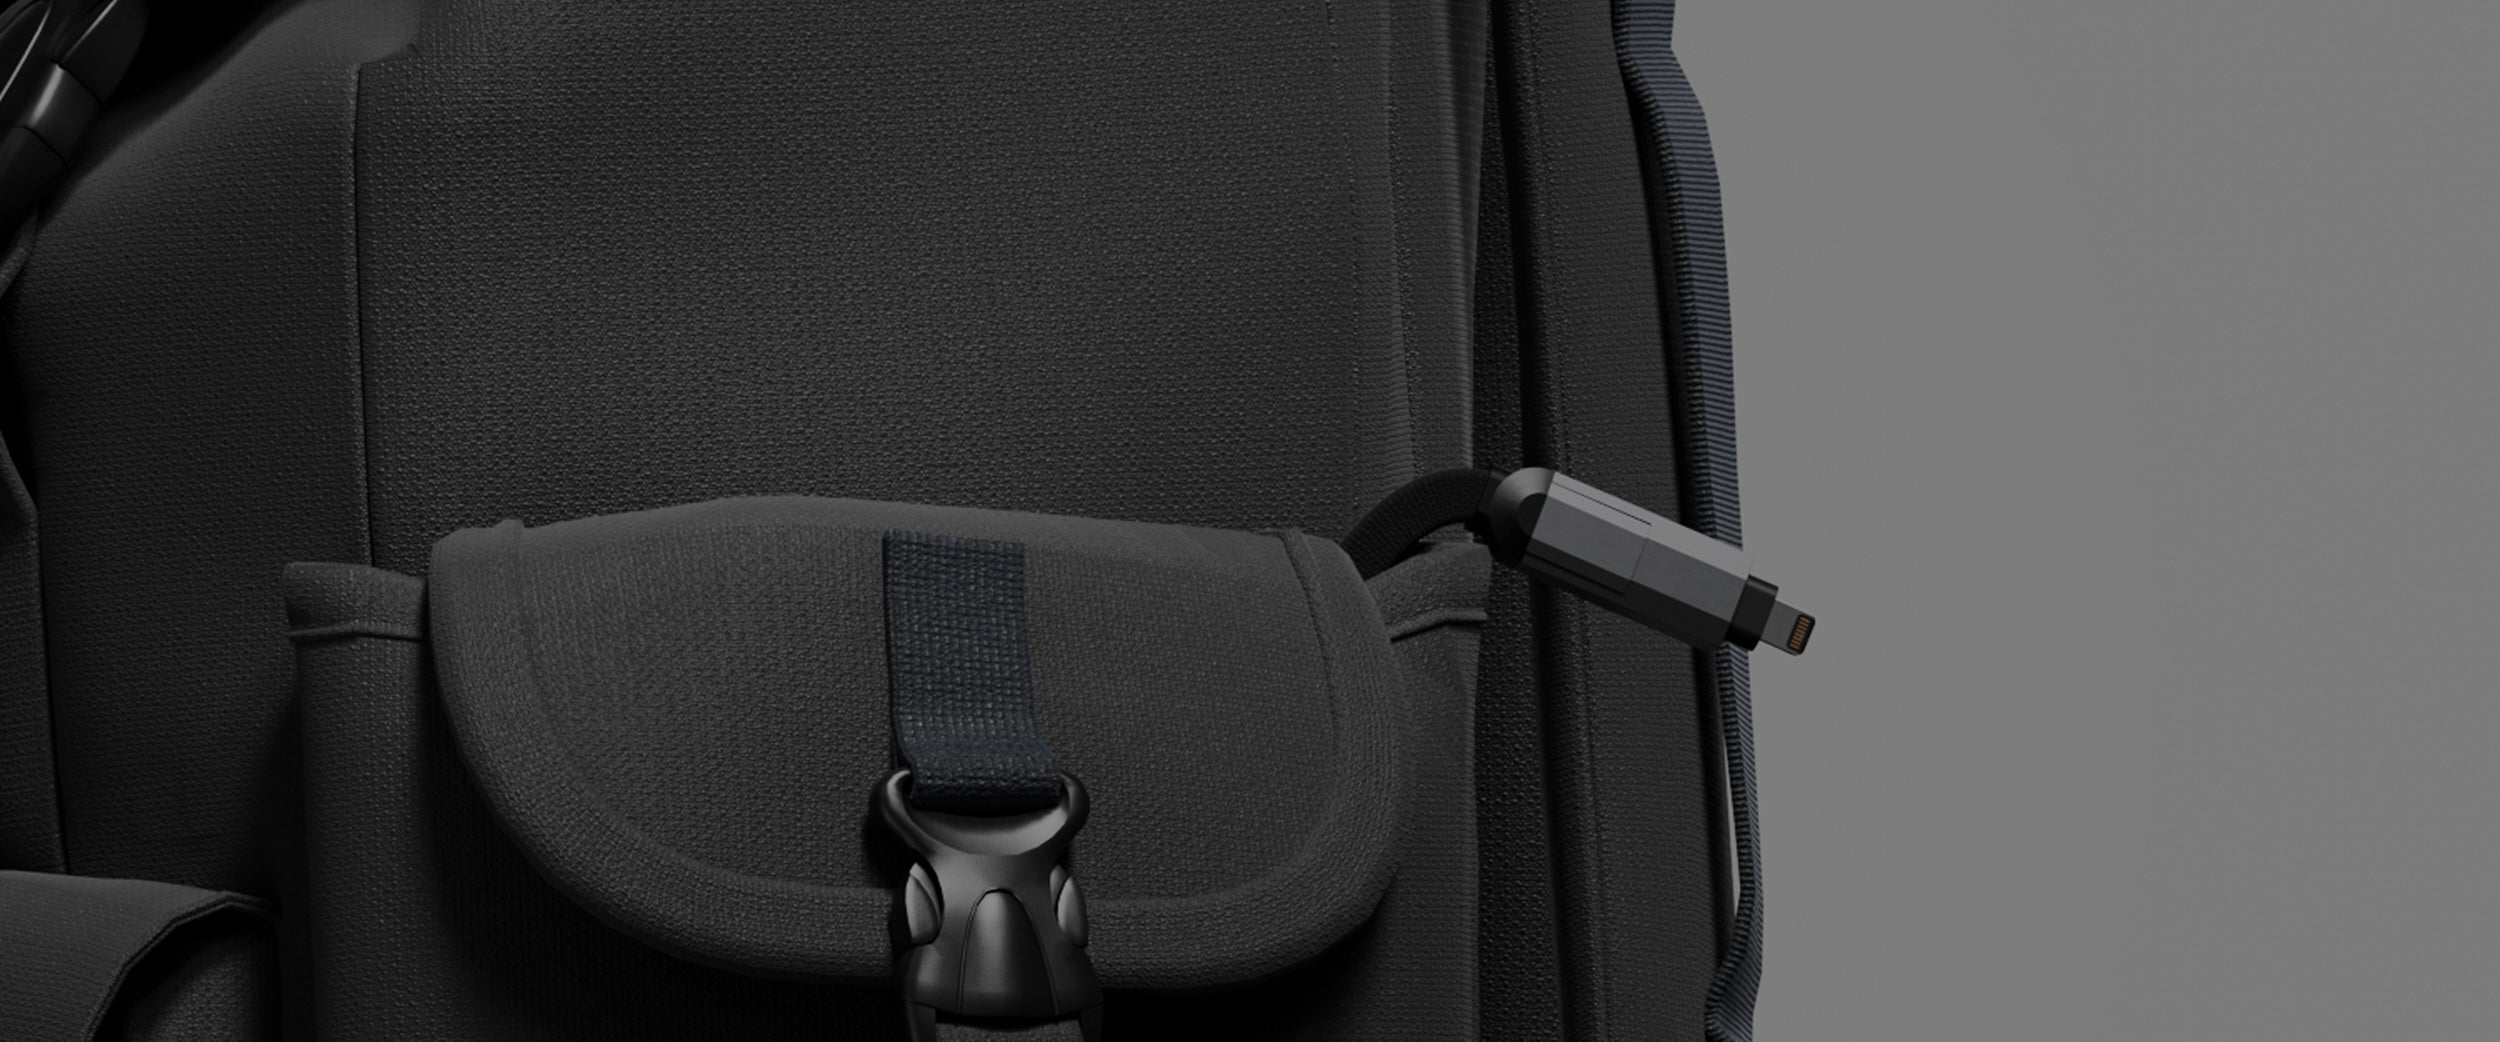
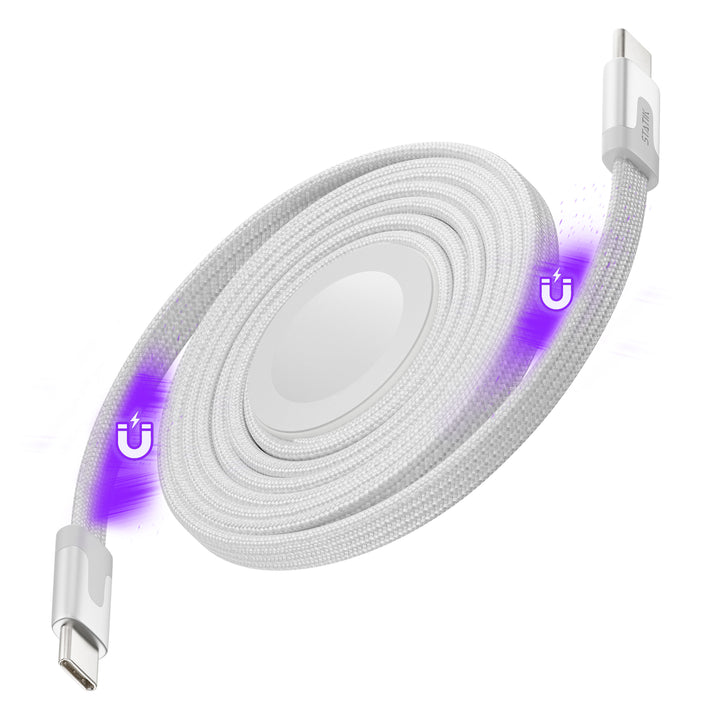
Choose the Magnetic Tip: Select the magnetic tip that corresponds to the port on your device. The cable comes with three options: USB-C, Micro USB, and Lightning. Choose the one that fits your device's charging port.
-
Connect the Device: Connect the selected magnetic end to the charging port on your device. The magnetic connection ensures a secure fit and easy attachment to the cable. Make sure you push the tip all the way in so it gets to the right spot - it makes a "click" sound once it's in the right place. Then, attach the magnetic tip to the other end of the cable.
-
Observe the Glow: Once the cable is connected to both the power source and your device, you should notice the cable glowing. This indicates that the charging process has begun, and electricity is flowing from the power source to your device.
-
Wait for Full Charge: Allow your device to charge until it reaches its maximum battery capacity. This may take some time depending on the device's battery size.
-
Watch for the Dimming Glow: Once your device is fully charged, the glowing feature of the cable will stop altogether. This indicates that the charging process is complete, and your device is ready to be unplugged.
Note that, if you keep your cable plugged in after it has reached full battery, you'll see the cable lights up from time to time. This happens because the device's battery started to lower, which triggers the cable to charge it again.